Learn how to add a single user and send an invitation that they use to activate their MultiLine service.
Overview
A MultiLine administrator is responsible for adding users to the Management Portal and sending the users MultiLine invitations. MultiLine invitations give them the required information they need to activate MultiLine.
You can add users directly in the portal, or you can upload multiple users at once using a CSV file. You can also add users and invite them to MultiLine immediately or save the information to invite them at a later time. If you add users without inviting them, you'll need to use the Resend Invite feature to send them invitations in the future.
Before you Start
- An admin must have "Accounts" Privilege in their Role in the organization to do these instructions. See What Admin Privileges are in Management Portal?.
- If you would like to customize the email invitation, you should do this prior to this step.
- If your users need custom permissions, you should create those prior to this step.
- Sending an invitation requires there to be an Available or Reserved number to be assigned to the user account.
Send a Single User Invitation
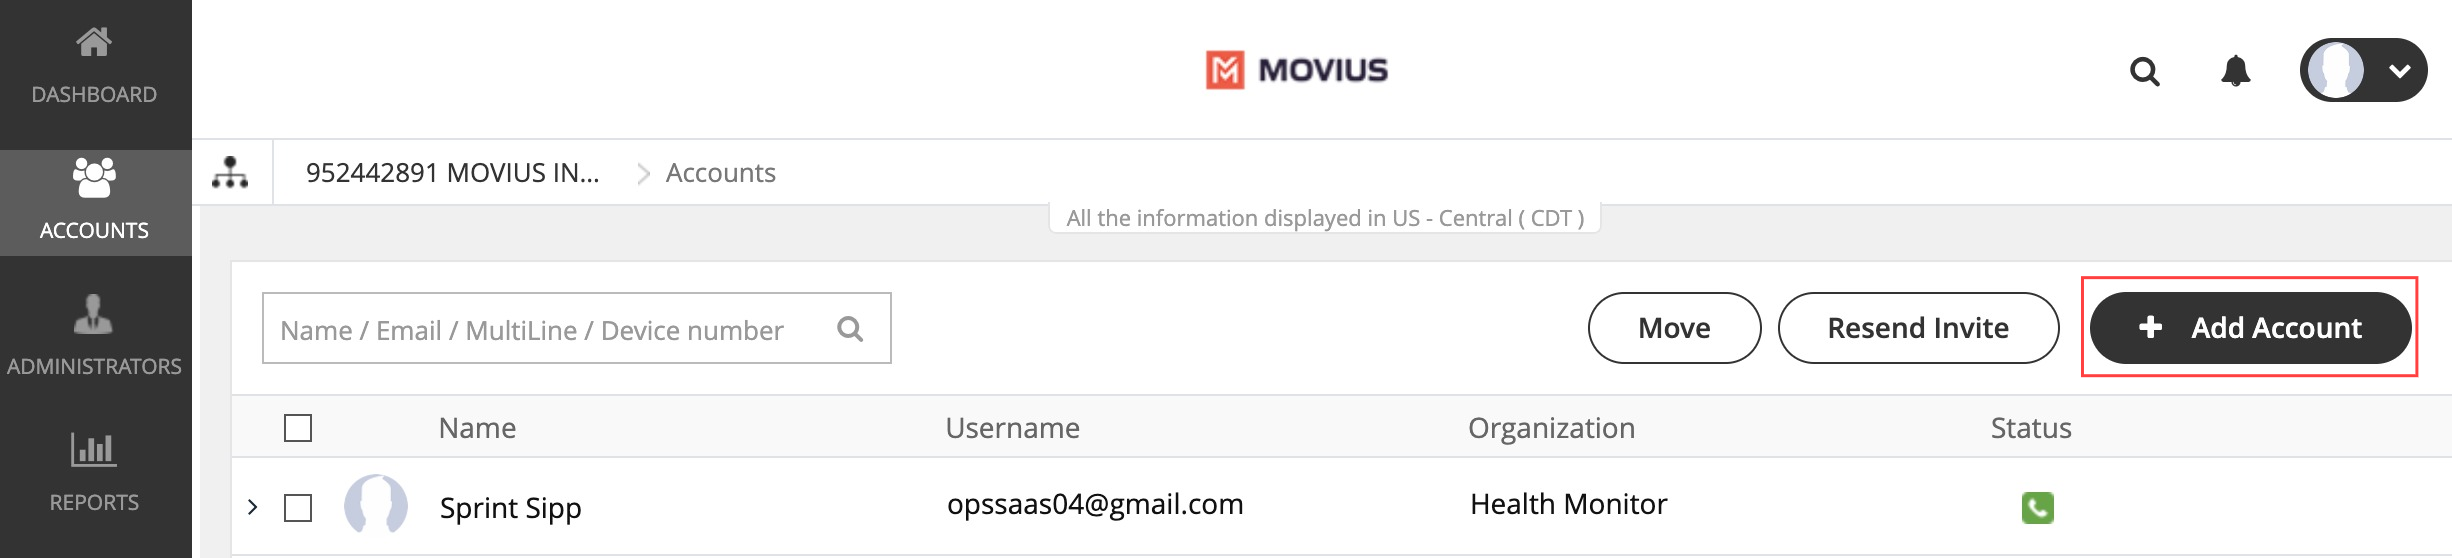
You can add and invite users to MultiLine from the Accounts screen in the Management Portal.
- Go to the Accounts tab, and then click Add Account.
Fill out the fields:

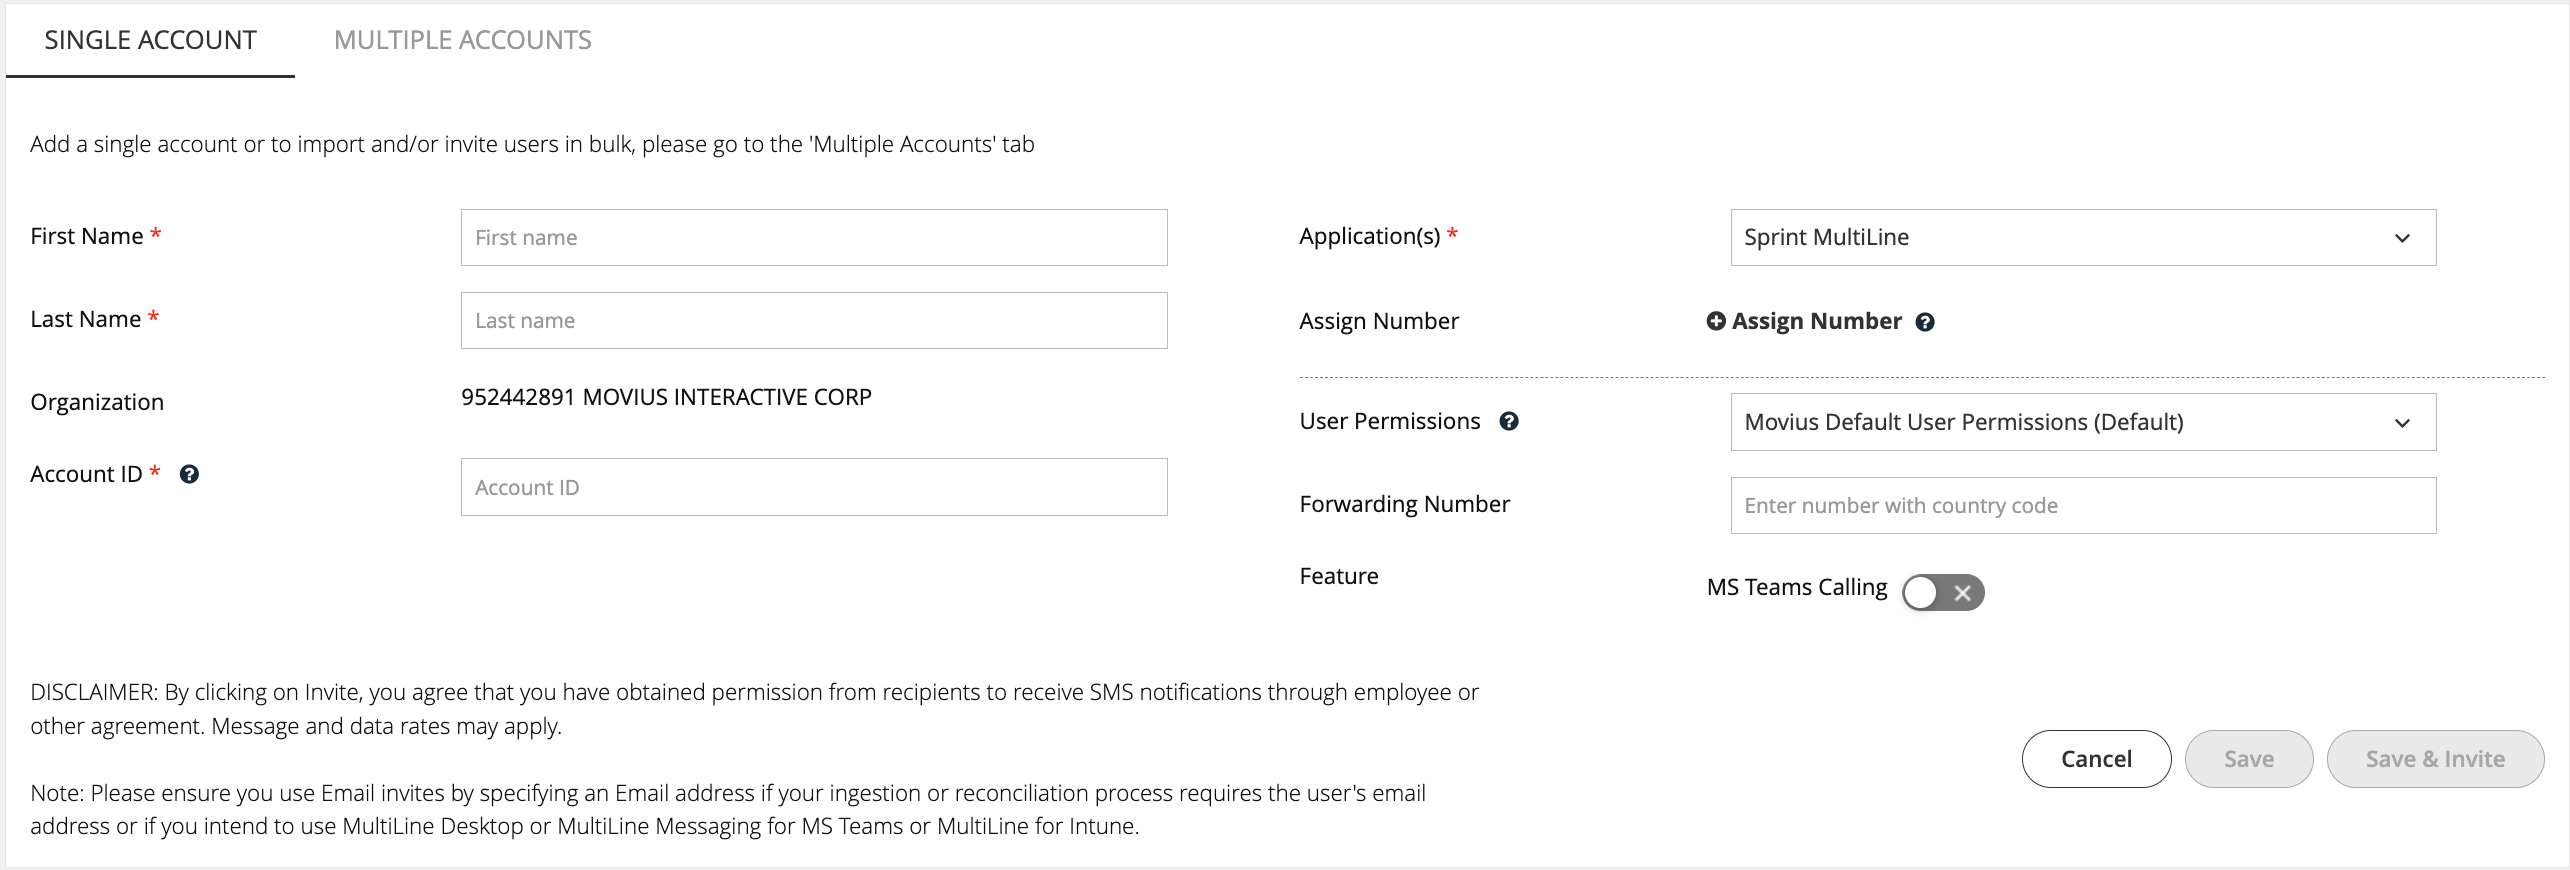
- Enter the First Name and Last Name.
- Enter the Email or Device # that the invitation will be sent to.
- Optional: Click the Assign Number link.
Note: If you do not assign a number, end-users will have the option of to select from a short list of available numbers during MultiLine activation. - Choose a number or tag from the drop-down menu. (Example above: "PORTED")
- Select the User Permissions to which to assign this number. (Example above: "default cos for org 2000")
- Select toggles for any Features to apply to this user account. Note: You will only see toggles for features enabled for your organization.
- You can add the user and invite them to use MultiLine immediately, or add the user and send the invitation to use MultiLine at a later time.
- Select Save to add the user without sending the user an invitation to use the application. Note: You will use the "Resend Invitation" process when ready to invite the user to MultiLine.
- Select Save & Invite to add the user and send the user the invitation to begin using MultiLine.


Note that the available fields on this screen will vary based on your organization's setup.