Read this guide to install MultiLine for Salesforce in the Management Portal. For installing the connector in Salesforce see MultiLine for Salesforce Installation Guide for Salesforce Admins.
Overview
A MultiLine administrator in the Management Portal needs to complete these steps to set up MultiLine for Salesforce. To complete integration, some steps will require actions from the Salesforce Administrator.
Before you start
- If possible, perform these steps before adding MultiLine for Salesforce users to the organization.
- An admin must have "Administrators" Privilege in their Role in the organization to do these instructions. See What Admin Privileges are in Management Portal?.
MultiLine for Salesforce Installation
Step 1 - Add the Salesforce Administrator as an API user
Use this section to summarize what users will complete in the following steps.
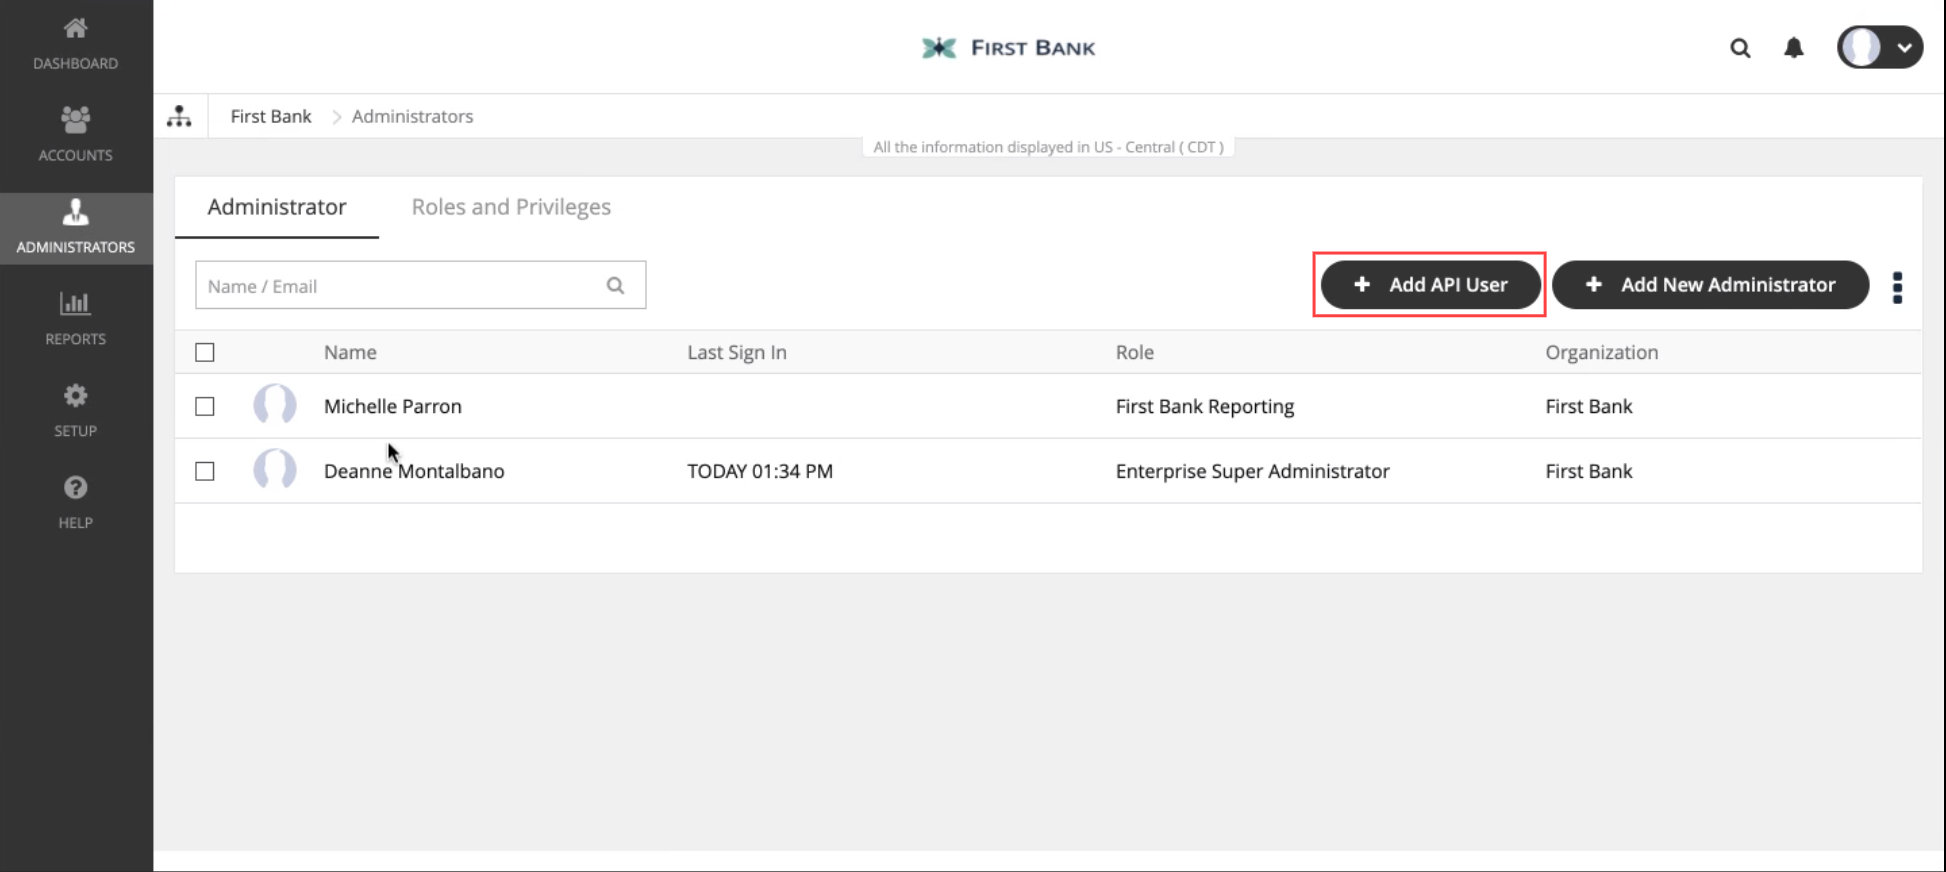
- Go to Administrators and click Add API User

- Enter the required details for the Salesforce Administrator
Note: Email address must not be associated with an active MultiLine administrator account - From the External Applications dropdown select Salesforce
- Click Save
- An email will be sent to your Salesforce Administrator’s email entered above containing a temporary password
Salesforce Administrator Action Needed
Before proceeding, the Salesforce Administrator must complete the following steps:
- Getting Started in Salesforce
- Install MultiLine for Salesforce
- Register MultiLine
- Configure MultiLine for Salesforce
Once the Salesforce Administrator actions are complete, you can proceed.
Step 2 - Create User Permissions for MultiLine for Salesforce
- Go to Setup, then User Permissions, and select Add New.
- Edit the feature set according to the permissions the users of MultiLine for Salesforce should have.
- Enter the name as the Permissions set as "MultiLine for Salesforce" and click Save.
Step 3 - Manage Webhook Events
Go to Setup and click Webhook Events.
- For every Webhook events displayed, click Edit.
- Under User Permissions select MultiLine for Salesforce and click Save.
Step 4 - Manage MultiLine for Salesforce Users
Now you need to apply the user permissions you created to the user accounts.
Select the tab below according to whether the users that are using MultiLine for Salesforce are already MultiLine users, or are new users that need to be invited.
For existing MultiLine users
- Navigate to the organization where MultiLine for Salesforce users are provisioned
- Click Edit for the user
- Check that the email address is same as their SFDC account.
- Click User Permissions
- Select MultiLine for Salesforce from the dropdown and click Save
For new MultiLine users
Navigate to the organization where your MultiLine for Salesforce users will be.- Go to Accounts and click Add Account.
- Enter the required details. Note: their email address needs to match their Salesforce email address and must be a valid email address.
- Click Assign Number, enter SFDC in the search bar and select a number from the list. Note: MultiLine for Salesforce numbers are tagged in the system as SFDC
- Under User Permissions select MultiLine for Salesforce.
- Click Invite.
Salesforce Administrator Action Needed
Manage Licenses and Setup Users
Congratulations!
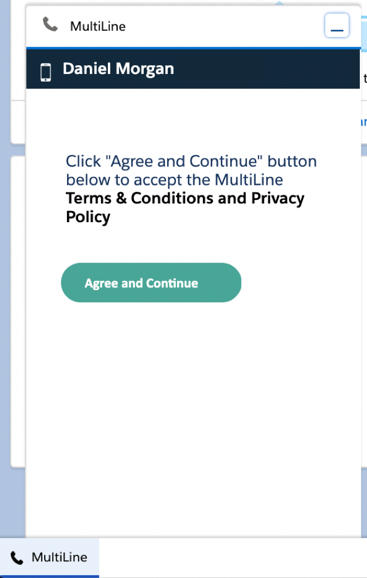
Once the Salesforce Administrator actions are complete, the integration is finished! When Salesforce users login into Salesforce, they'll see the MultiLine utility in the bottom left bar.
After accepting the terms and conditions, they'll be able to use MultiLine.

- If their MultiLine number is not assigned to their MultiLine account, then the Salesforce Users will get “MultiLine Registration Failed” error when MultiLine for Salesforce utility is accessed
- MultiLine for Salesforce is supported on Chrome browser only
