It is possible to configure whether or not a user who has social messaging enabled can receive inbound social messages.
When restricted, the user must initiate all conversations on the social media platform, no one will be able to contact the user using our AI-enabled message routing service.
How to restrict incoming social messages (new user)
You can set the restriction of incoming social messages for a new user that you're inviting for the first time.
- Go to Accounts.
- Select Add Account.
- Fill out all the required details for the user and assign the number. See Add users and send MultiLine invitations.
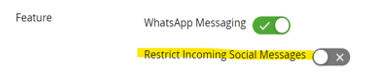
- Under Feature, select the Restrict Incoming Social Messages toggle.
- The green checkmark means incoming social messages will be restricted
- The grey x means incoming social messages will not be restricted.

- Invite the user as usual.

How to restrict incoming social messages (existing user)
You can edit an existing users account to restrict incoming social messages.
- Go to Accounts.
- Search for the user.
- Select Edit Account.
- Under Feature, select the Restrict Incoming Social Messages toggle.
- The green checkmark means incoming social messages will be restricted
- The grey x means incoming social messages will not be restricted.
- Save your changes.

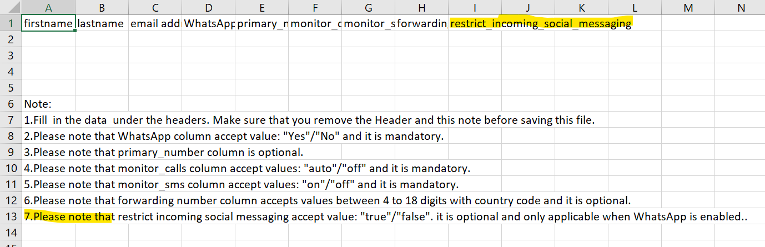
How to restrict incoming social messages ( bulk CSV)
You can set the restriction of incoming social messages in the bulk upload CSV file.
- Select on Add account.
- Select Multiple Accounts.
- Download the sample CSV template.
- Fill in the other required details in sample templates. See How do I use the CSV bulk invitation to add many users at once?
- Set Restrict incoming social messages field to True.
- When this field contains true, incoming messages will be restricted.
- When this field contains false, incoming messages will not be restricted.
- Upload the CSV file and click on Import & Invite.