Read on to learn how to create, edit, or delete organizations.
Overview
Organizations contain your user and admin accounts.
You can set up the MMP to reflect your organizational structure where you can create an organization (root node) with the name of your Enterprise. Each node or branch of the tree represents a department. Each department can have its own administrator with well-defined roles and privileges.
Consider the example below:
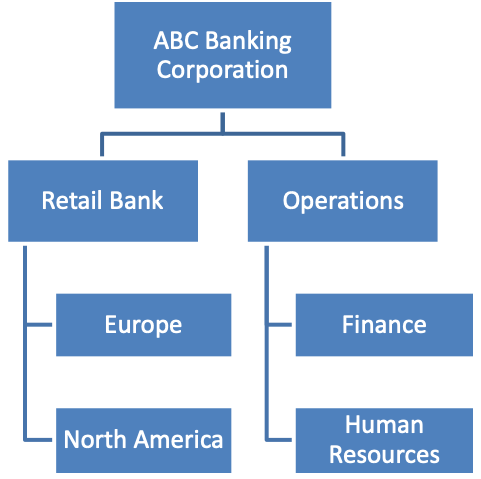
You can create one or multiple organizational levels or just create one organizational level below the root node. This structure is flexible enough to manage your employee base.
You can have as many organizations and sub-organizations in the portal as needed.
Before you start
- You need the "Profile" Privilege in your Role to perform these instructions. See What Roles are in the Management Portal?
Create Organization
- Click the profile menu icon
 .
. - Click Sub-Organizations.
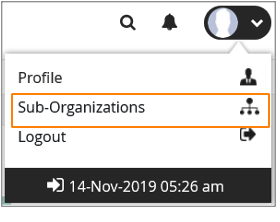
- Click Create New Sub-Organization.

- Fill out the details and click Create.

Edit Organization
- Click
 .
. - Click Sub-Organizations.

- Click Edit to make changes to the parameters within the organization.

Delete organization
In order to delete an organization, the organization or any of its sub-organizations must not contain any users or administrators.
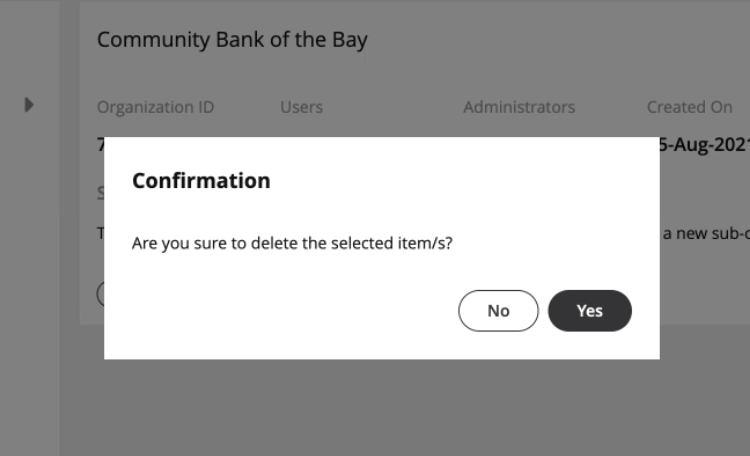
1. Once you have deleted or moved all the users and administrators, the delete button becomes available.

2. Click Yes to confirm deletion.
Your organizations are ready!
Now administrators can invite administrators and users to the organization.
Read on to learn how to go to an organization in the Management Portal.
Overview
Before you perform most tasks, if you manage multiple organizations, you will need to go to the correct organization before beginning.
Before you start
- Best practice is to set policies at the top-most level where they apply, as policies set at the top-level are inherited by the organizations below.
- You can only go to organizations you have access to.
- If you only have access to one organization, you won't need to use this instruction.
Go to organization
- Click the organization icon
 on the left side of the header bar.
 - Select sub-organizations to reveal their sub-organizations until you find the desired sub-organization.
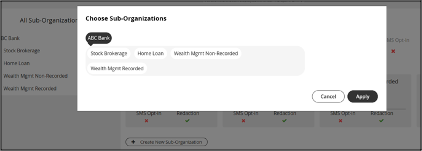
- Click Apply.
Read on to learn about connecting regional sites in the Management Portal.
This feature will be available in Version 4.44.1 of the Management Portal.
Overview
Connecting regional sites allows an admin for global enterprises to securely and seamlessly manage their regional sites.
Before you start
- An admin must have "Setup" Privilege in their Role in the organization to do these instructions. See What Admin Privileges are in Management Portal?.
Connect regional sites
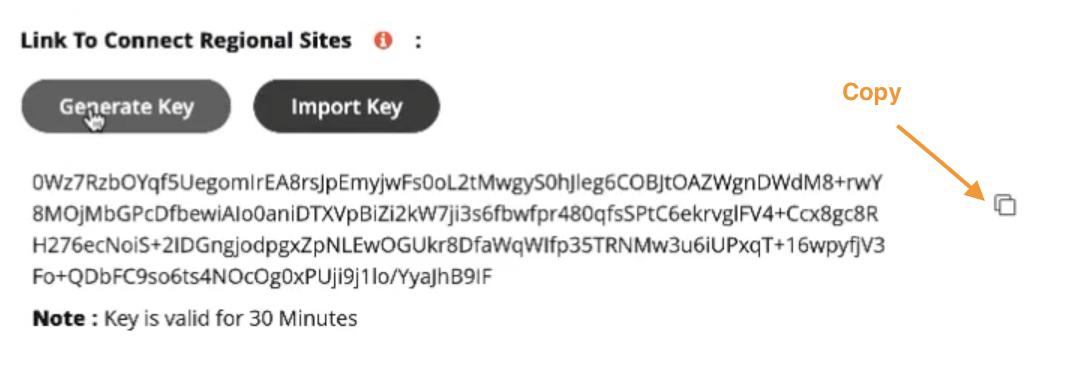
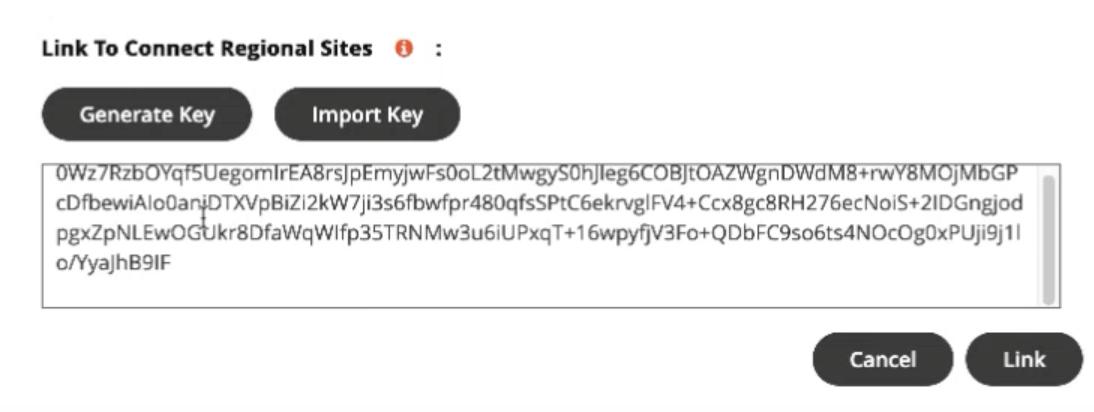
The admin will edit the top-level organization for one site, generate a key, and then paste the key into the top-level organization for each instance that should be connected. The key will be valid for 30 minutes.
- Select Edit for the top-level organization. See Manage (Add, Edit, or Delete) Organizations
- Select Generate Key and copy the key. Note: the key is valid for 30 minutes.
- Select Edit for the top-level organization in another site.
- Paste the key and select Link.
- Select Yes at the confirmation message.
 .
.


 .
.
 on the left side of the header bar.

