Read on to learn how to enable Two Factor Authentication (2FA) for Management Portal Admins.
Overview
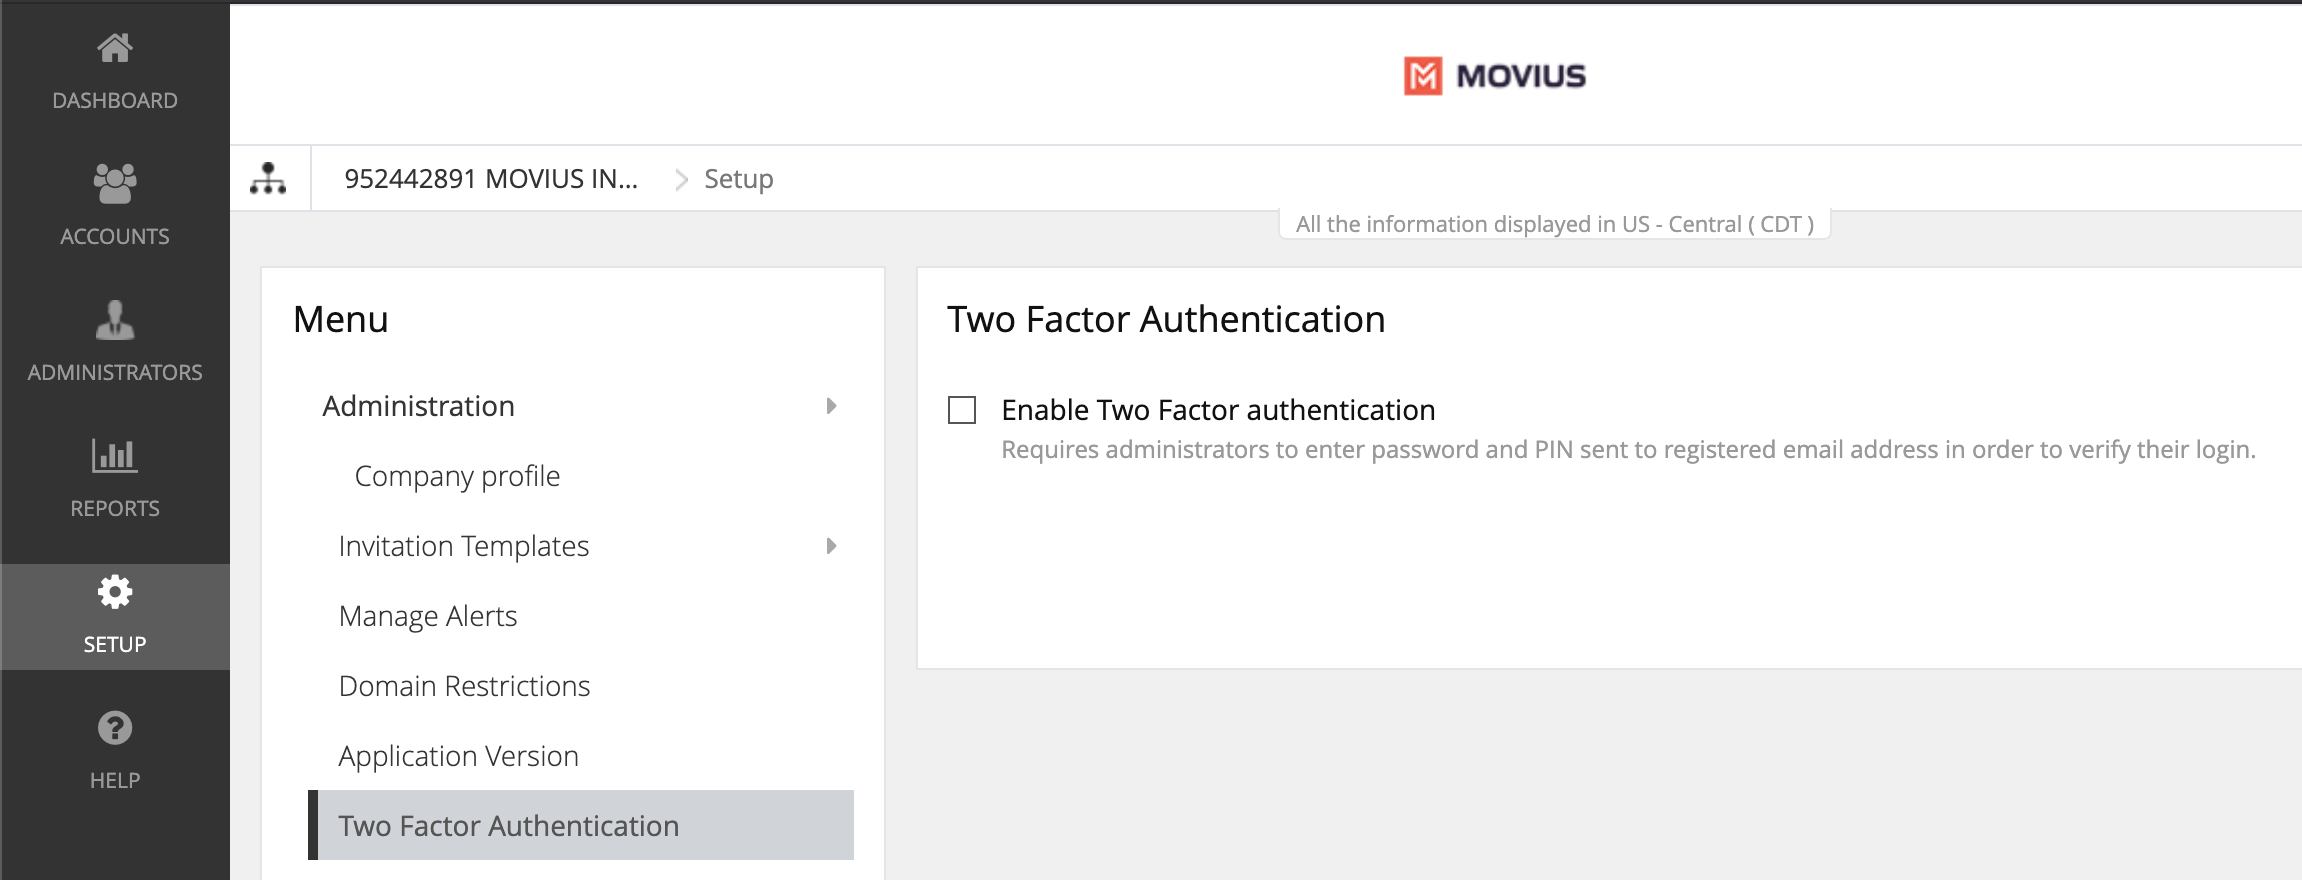
You can enable 2FA under Administration in the Setup tab.
This feature provides an additional layer of security to curtail suspicious login activity. Additional security control is provided by making use of a PIN sent to the Admin's registered email ID.
Before you start
- An admin must have "Setup" Privilege in their Role in the organization to do these instructions. See What Admin Privileges are in Management Portal?.
Enable 2FA
- Go to the organization where you want to perform the action.
- Navigate to Setup > Administration > Two Factor Authentication
- Click on the checkbox labeled Enable Two Factor Authentication
- Acknowledge the message in the confirmation window
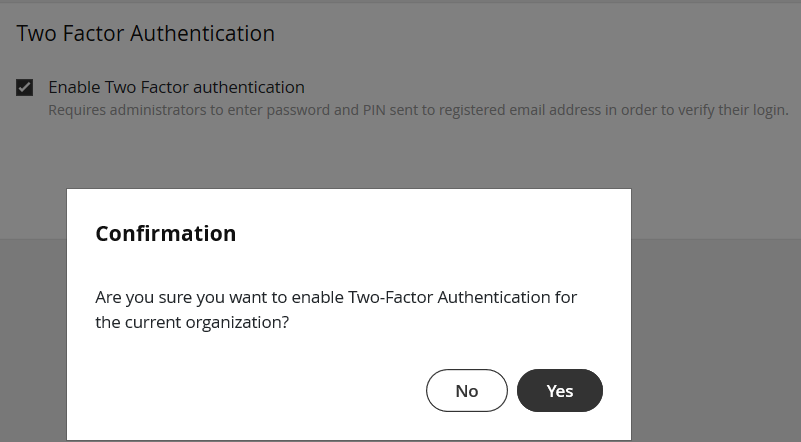
- Click Yes to confirm

How 2FA works
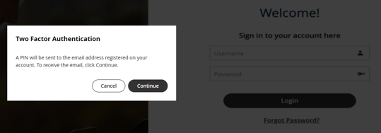
- Admin enters their username and password and submits
- Admin clicks Continue to receive the PIN to their email
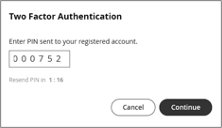
- Admin checks their registered email inbox and copies the PIN
- Admin enters the PIN and clicks Continue


When 2FA is enabled, Admins will be unable to use the "Forgot Password" feature to reset their password. When clicked, the Admin will receive an email alerting them that they must request a new invitation from an Admin to begin the password reset process.
Only an Admin with the Administrators Role for the Admin's organization will be able to send them a new invitation. See What Admin Roles are in Management Portal?
Read on to learn about Admin privileges in Management Portal.
Overview
When using this help center, you may see instructions that tell you you require a specific "Privilege". Privileges are actions that administrators can perform in the Portal. A Role defines a group of Privileges, see Create Admin Roles in Management Portal, and are assigned to administrators when they are added to the Portal.
Below is a table of all the privileges which exist in the Management Portal and their description.
Table of Admin Privileges
| Privileges | Description |
|---|---|
| Accounts | This privilege allows an administrator to View user accounts; Invite new users; Edit and Move, Delete existing accounts, and Filter. |
| Accounts Bulk Operations | This privilege allows an administrator to Invite, Edit, and Delete multiple user accounts at once based on Filter results. |
| Administrators | This privilege allows an administrator to View all other Administrators; Create new Administrator IDs; Edit existing information for other Administrators or Delete an existing Administrator ID. |
| API Users | This privilege allows an administrator to View user accounts; Create new API users; Edit and Delete existing API users. |
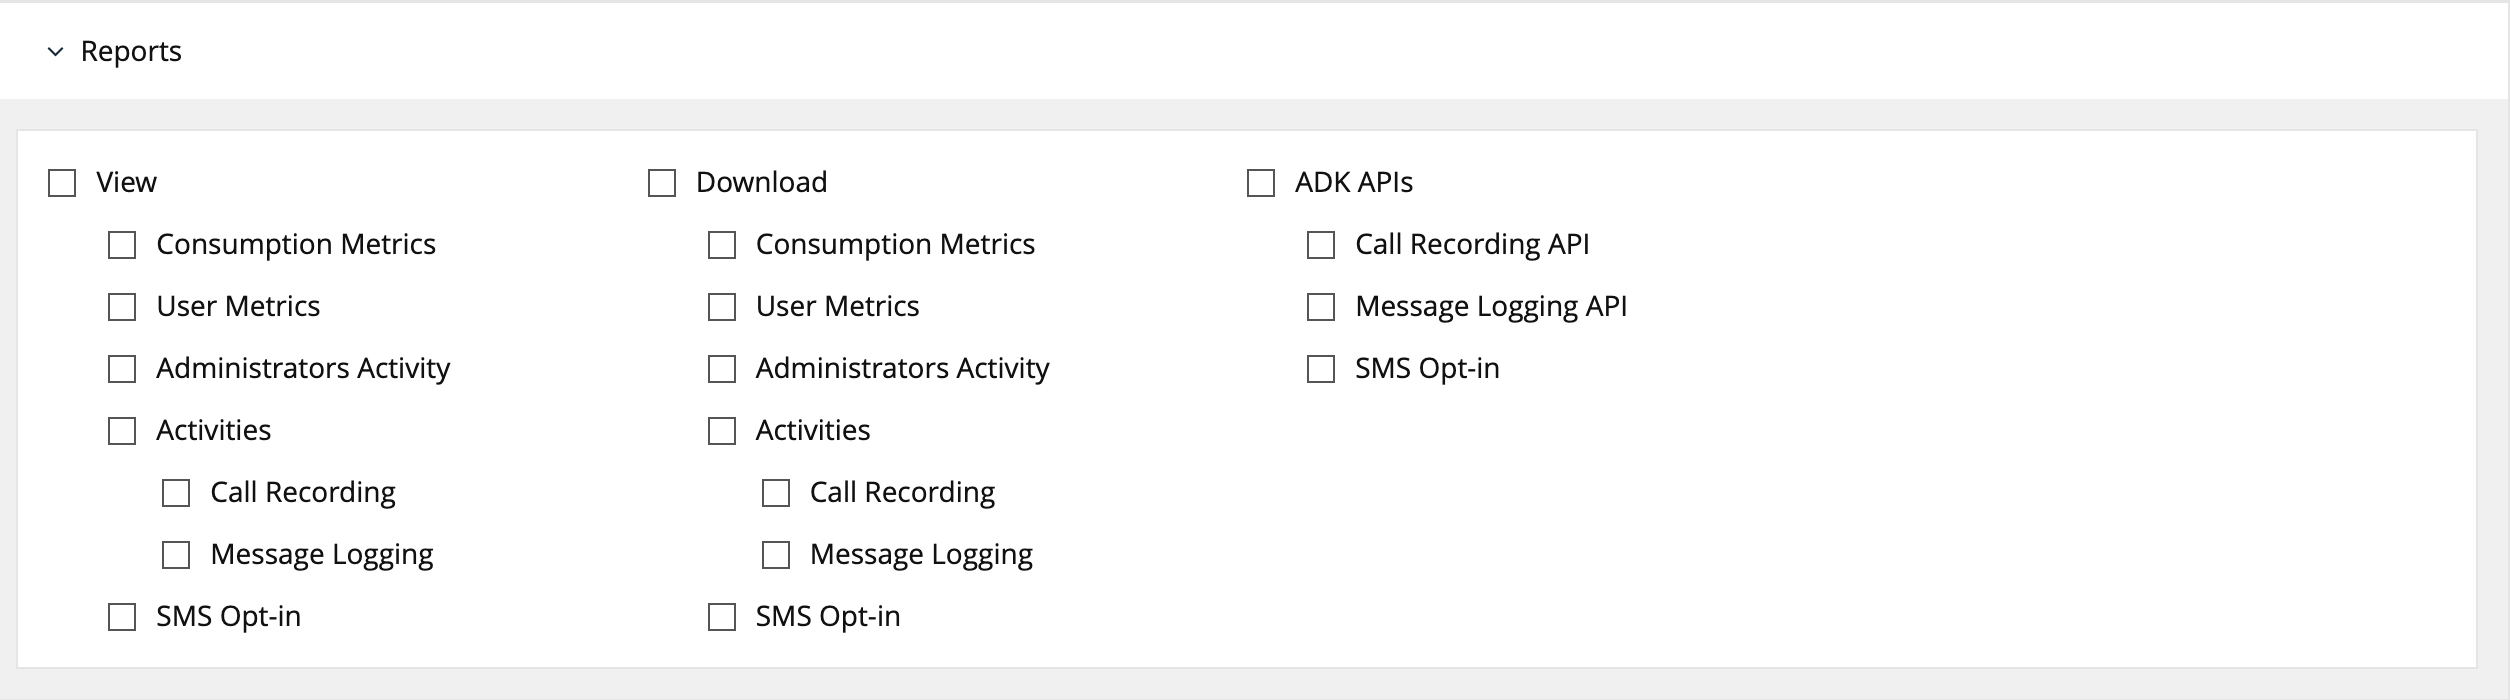
| Reports | This privilege contains three main categories such as View, Download and ADK APIs Options under ADK APIs
Options applicable for View & Download
|
| Setup | This section grants the following admin permissions: Edit permissions:
View Permissions
|
| Roles and Privileges | This section grants the following admin permissions:
|
| Help | This grants permissions to admins to View or Edit contents in the Help section. |
| Profile | This section grants the following admin permissions:
|
Roles are a collection of Privileges granted to Admins. Create your Roles before adding admins because selecting the Role will be a part of the Admin creation process.
Overview
Creating Admin Roles allows your organization to have different types of Admins. For example, you can have an Admin who is only able to invite users, and an administrator who is only able to downloading reports.
Before you Start
- You need "Roles and Privileges" Privilege in your Role to perform these instructions.
How to create a Role
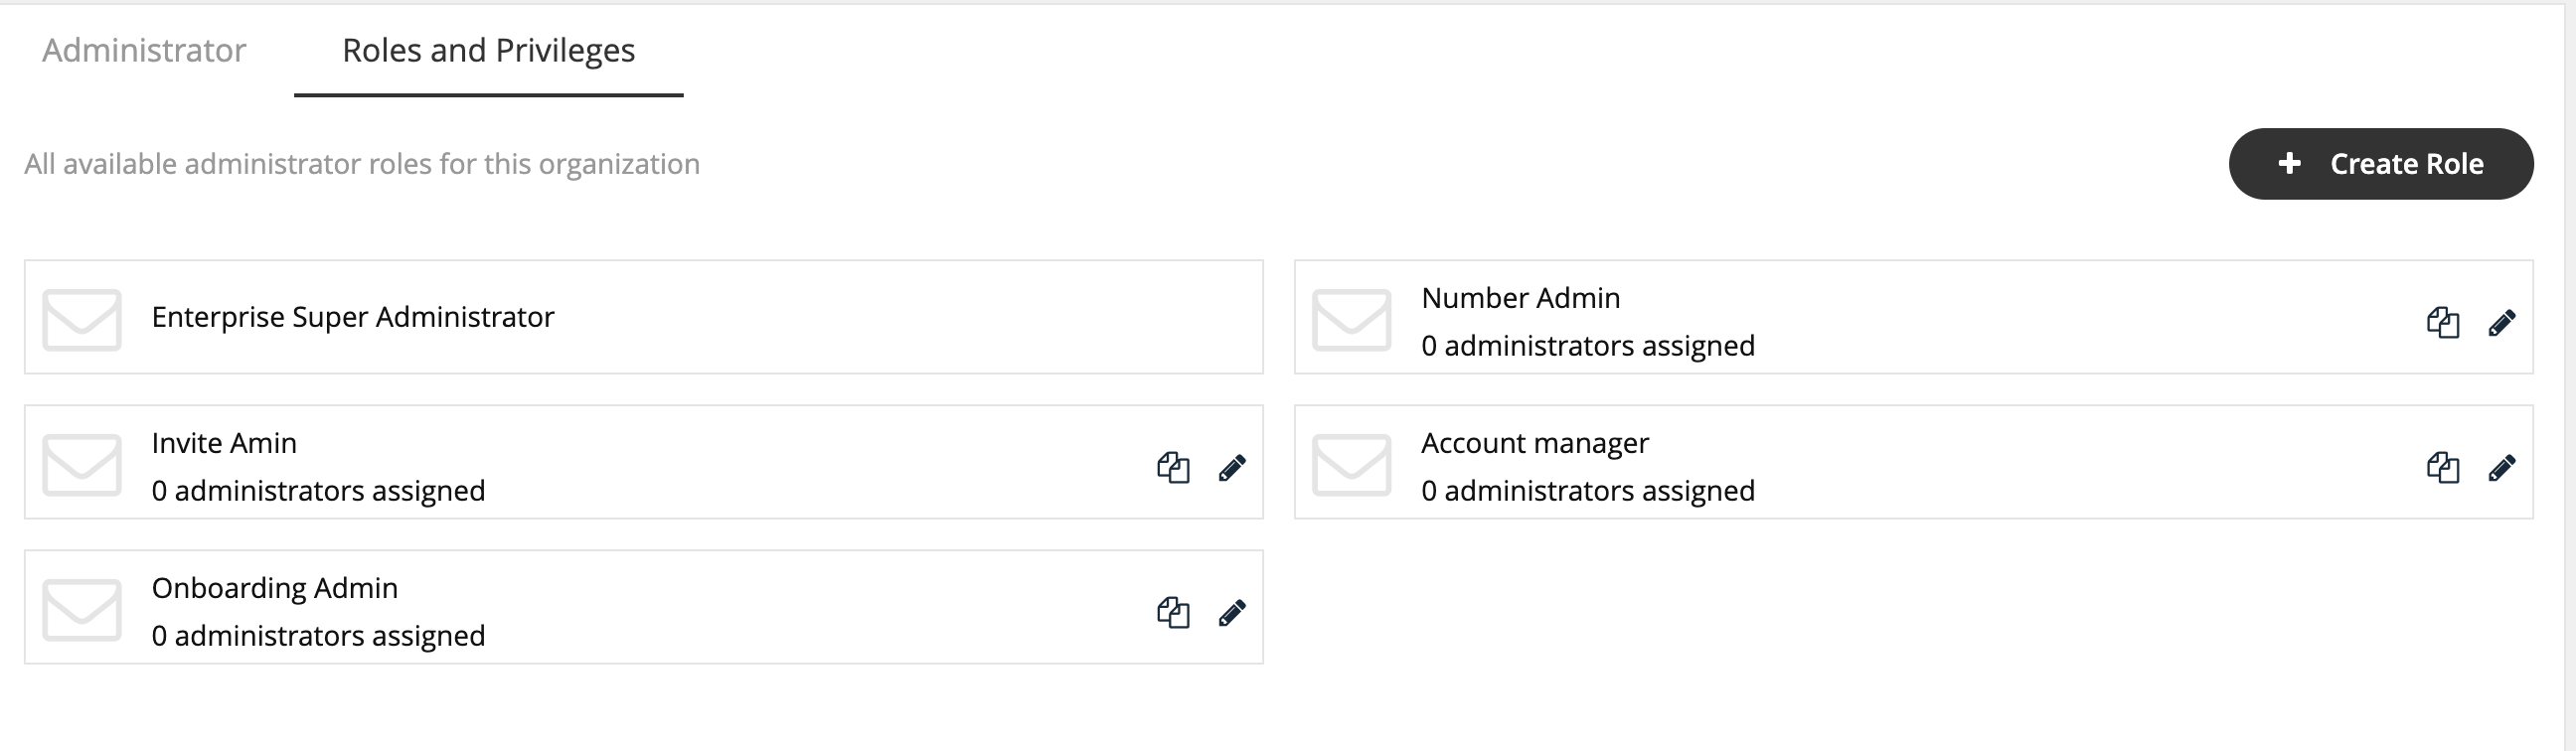
You can create a role in Administrators > Roles and Privileges.
- Navigate to the top-most organization that you want to receive the changes. See Navigating Organizations.
- Click Administrators.
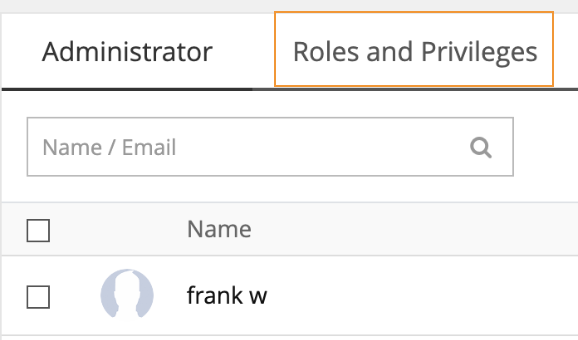
- Click Roles and Privileges.
- Click + Create Role to create a new role.


Different privileges can be assigned by checking various features under each section.
- Enter the name of the role into the Role Name field. Note: When you add admins to the portal, you will assign the role based on the Role Name.

- Select the checkbox to assign the privileges.
 Note: If single or multiple checkboxes of a section are selected, the link for that section will get highlighted in the header link.

 Note: If single or multiple checkboxes of a section are selected, the link for that section will get highlighted in the header link.
Edit Admin Role
1. Click the pencil icon to edit an Admin Role.
Your custom Admin Roles are ready!
Now when you add Admin accounts, you'll be able to assign them with the Role you created that only grants them access they need to perform their function in the Management Portal.
Learn how to add, delete or edit an admin profile in the Administrator section of Management Portal.
Overview
Admin accounts allows people in your organization to access the Management Portal.
Before you Start
- Requires Roles and Privileges Role. See Admin Roles for more information.
- Before you invite administrators to the organization, you should have already created Roles for the administrators.
Invite admins
- Go to the organization where you want to perform the action.
- Click Administrator.
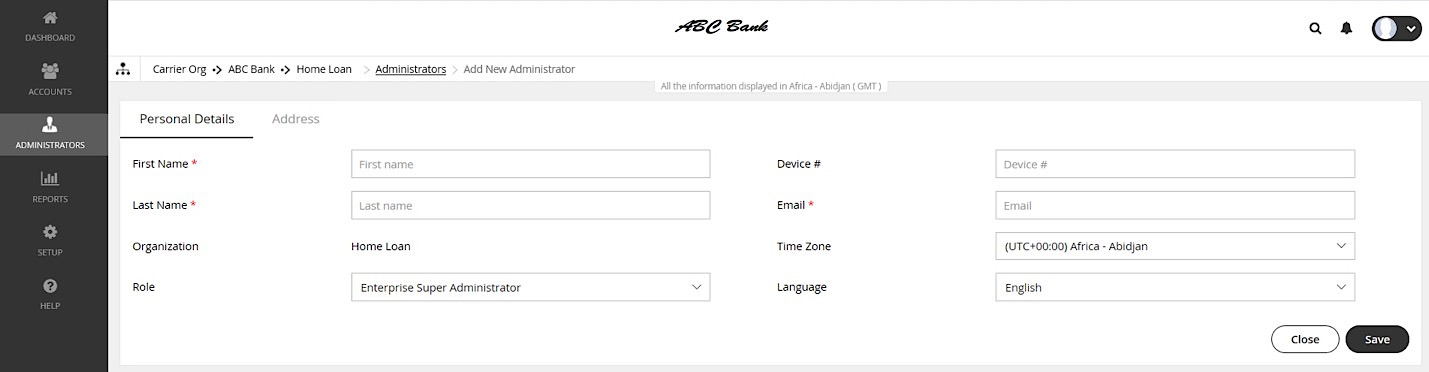
- Click Add New Administrator.

- Enter the details for a new administrator.
- Note that the default language is English but can be modified by the administrator when they review their own profile. Movius currently supports English, Spanish, and Portuguese languages.
- Click Save.


You've invited the admins!
An email will be sent to the new admins which will contain their login credentials and a system-generated password. On the first login, the administrator will be prompted to set their own password.
If you want to check whether administrators have onboarded, you can monitor administrator status in Administrator Reports (see Managing reports on MultiLine Admins).
Read on to learn how to add an API user to integrate MultiLine into external applications.
Overview
To create a connection from MultiLine to an external application, you will create an API User. Once added, the API user will receive an email with their username and password that they can use for consuming the API.
Before you Start
- You need the "API User" Privilege in your Role to do this instruction. See What Admin Privileges are in Management Portal?.
Create an API user
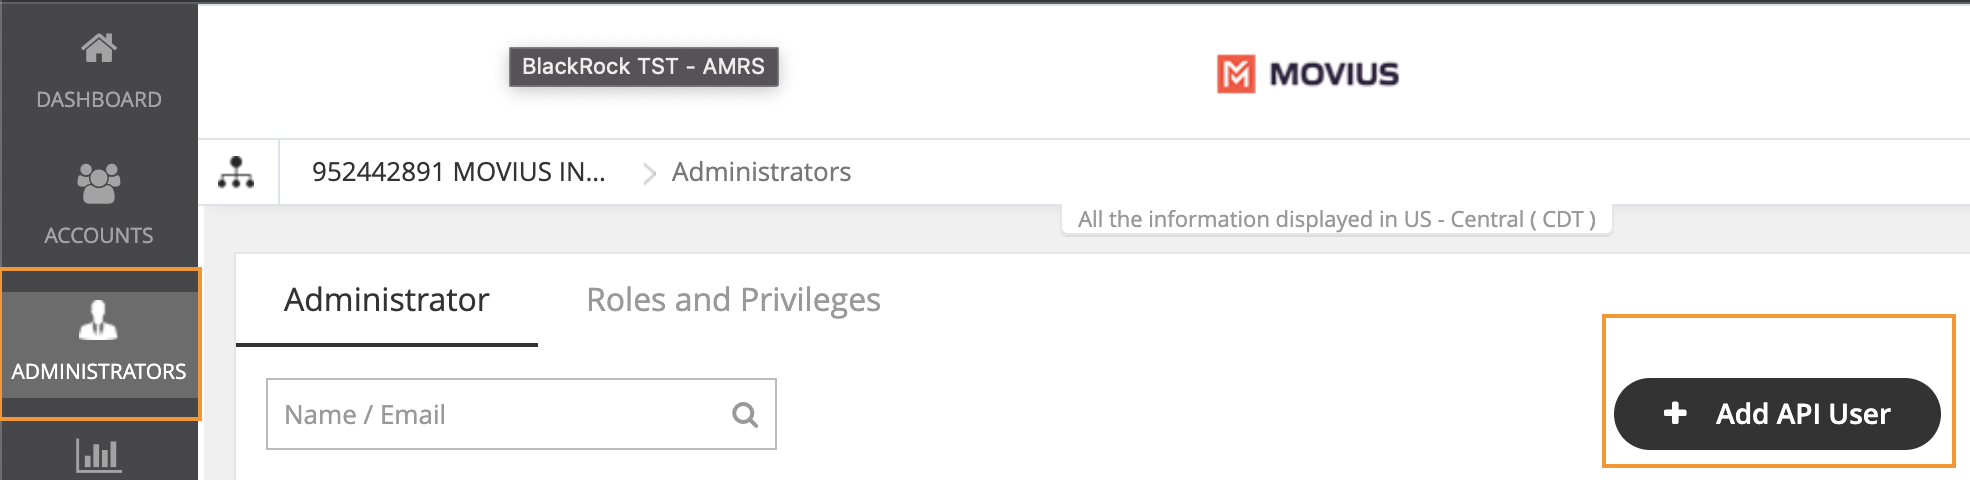
You add an API User in the Administrators tool.
- Go to Administrators, then select Add API User.
- Enter the required Personal Details including First Name, Last Name, and Email of the API administrator.
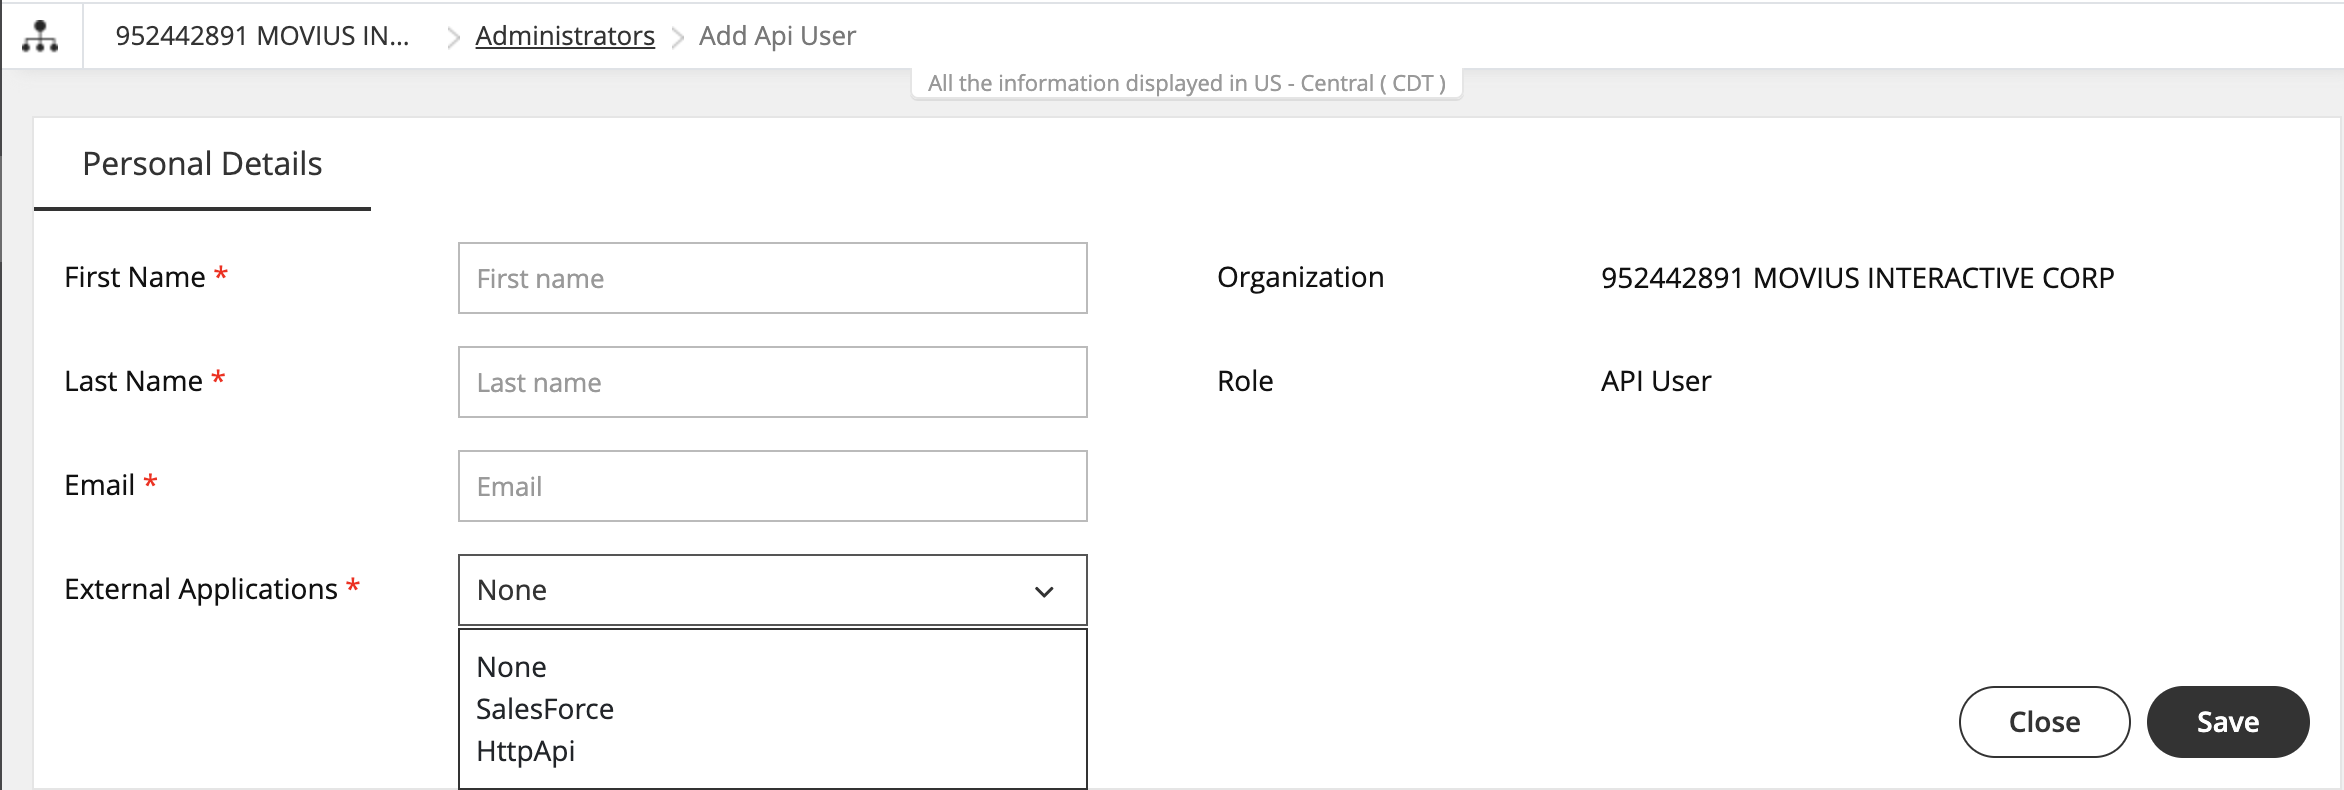
- Select External Applications for which the API user will be accessing the organization data.
- HttpApi: Used for setting up the connection to any external app.
- Salesforce: Used for setting up the connection to the MultiLine for Salesforce App.
- Note: you must select Salesforce to create a connection to MultiLine for Salesforce. Selecting HttpApi will not work.
- Note: If your company has created a specific custom app with Movius, select the name of the custom app from the list.
- Select Save. The user will receive an email with their username and password.


Editing an API user
You can edit the API User in the Administrators tool.
- Go to Administrators.
- Select the checkbox for API User, then select the Edit pencil.
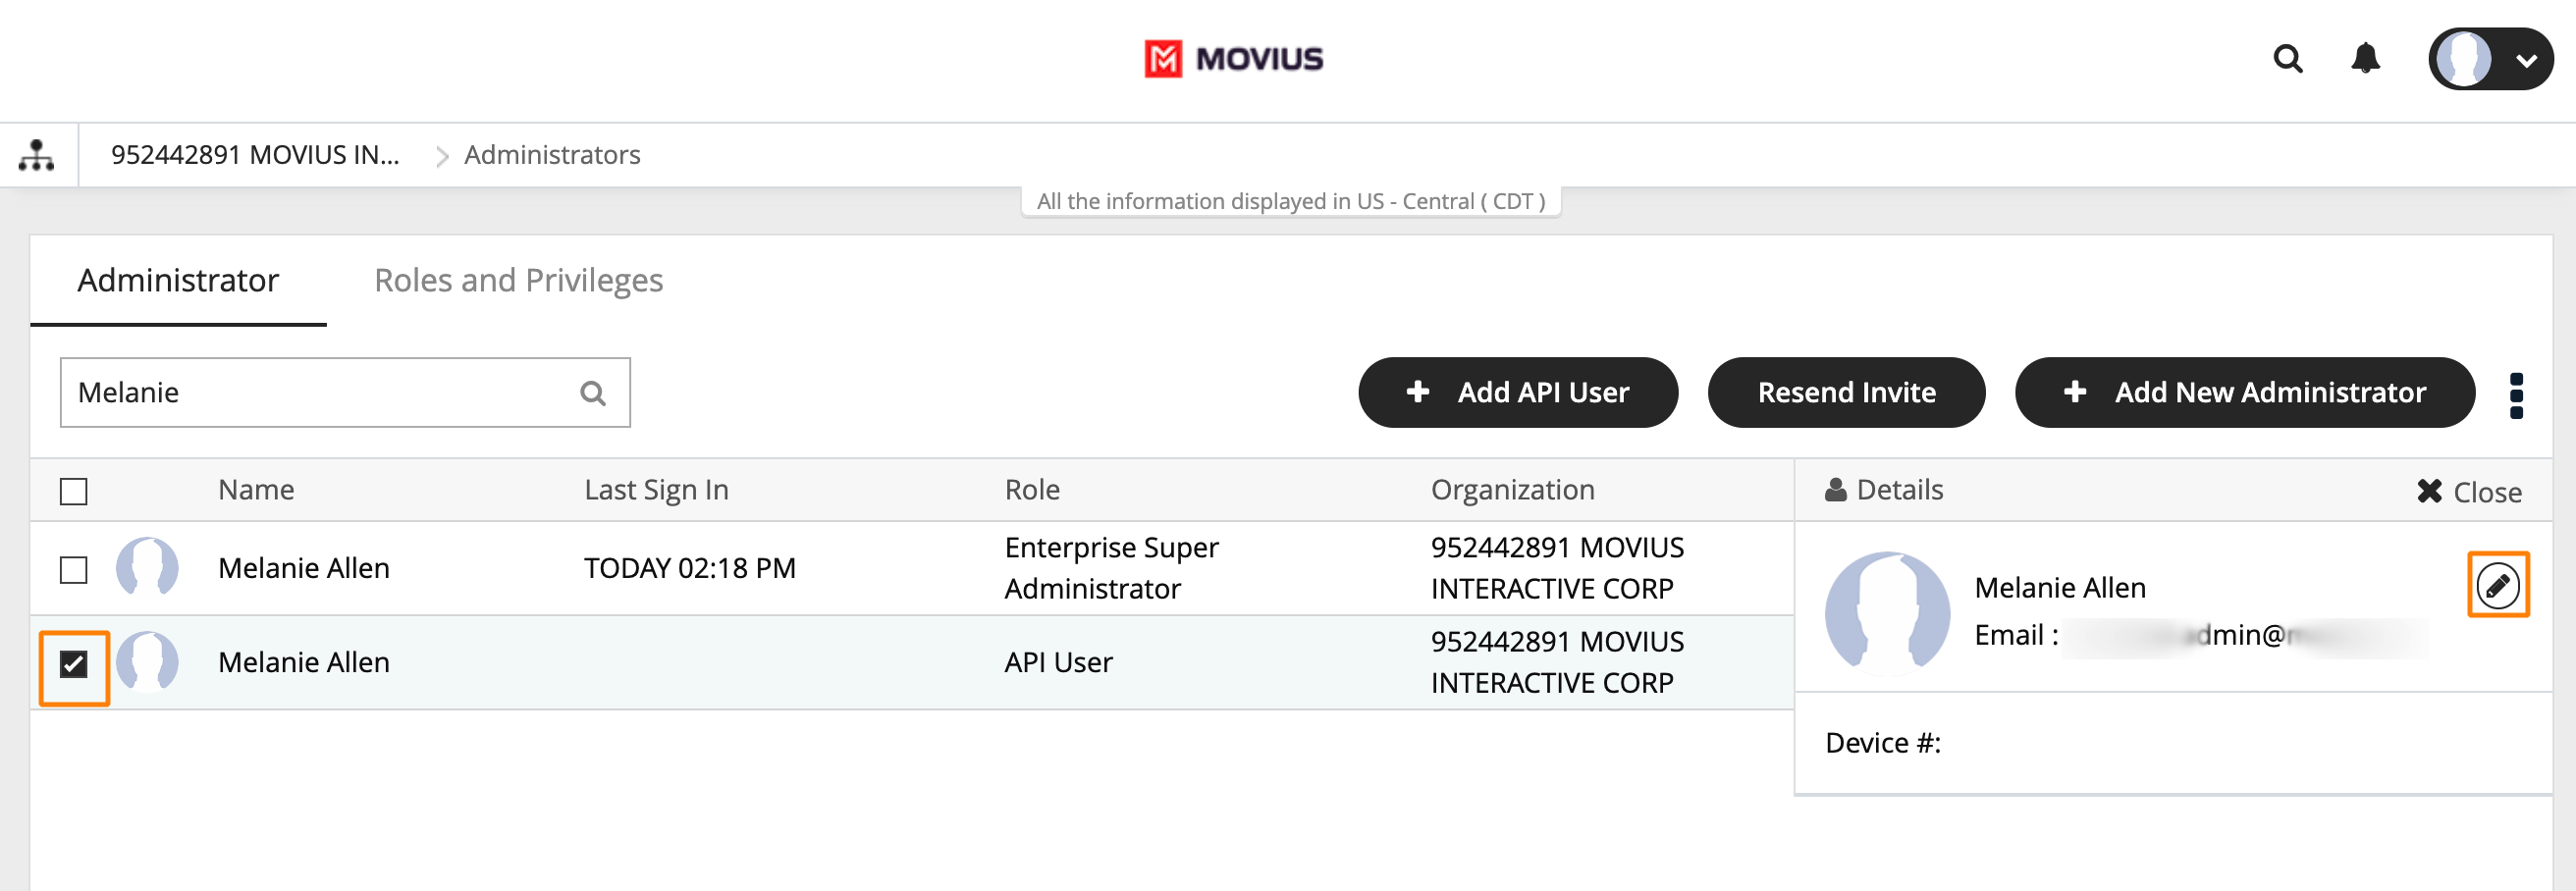
- Edit as necessary any required Personal Details or External Applications.
- Click Save.

Delete an API User
You can delete the API User. This will remove their ability to consume the API.
- Go to Administrators.
- Select the checkbox for API User, then select the Edit pencil.
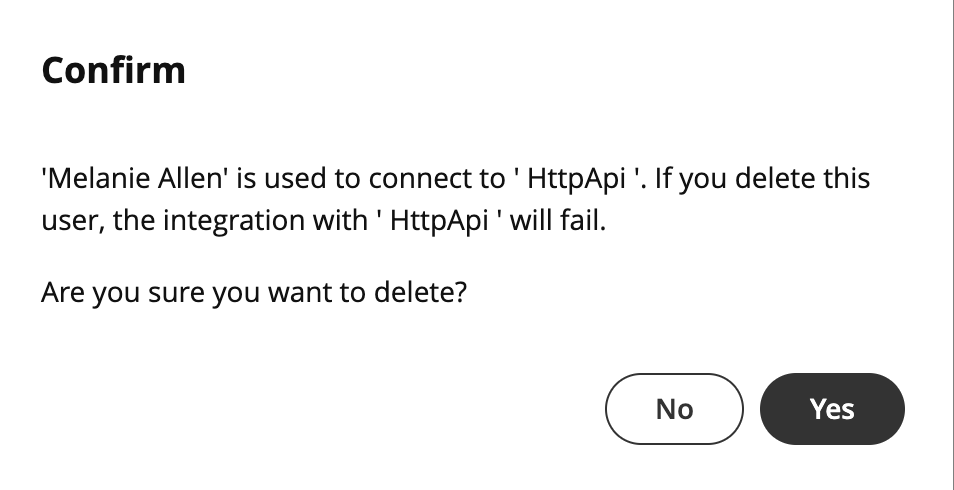
- Select Delete.
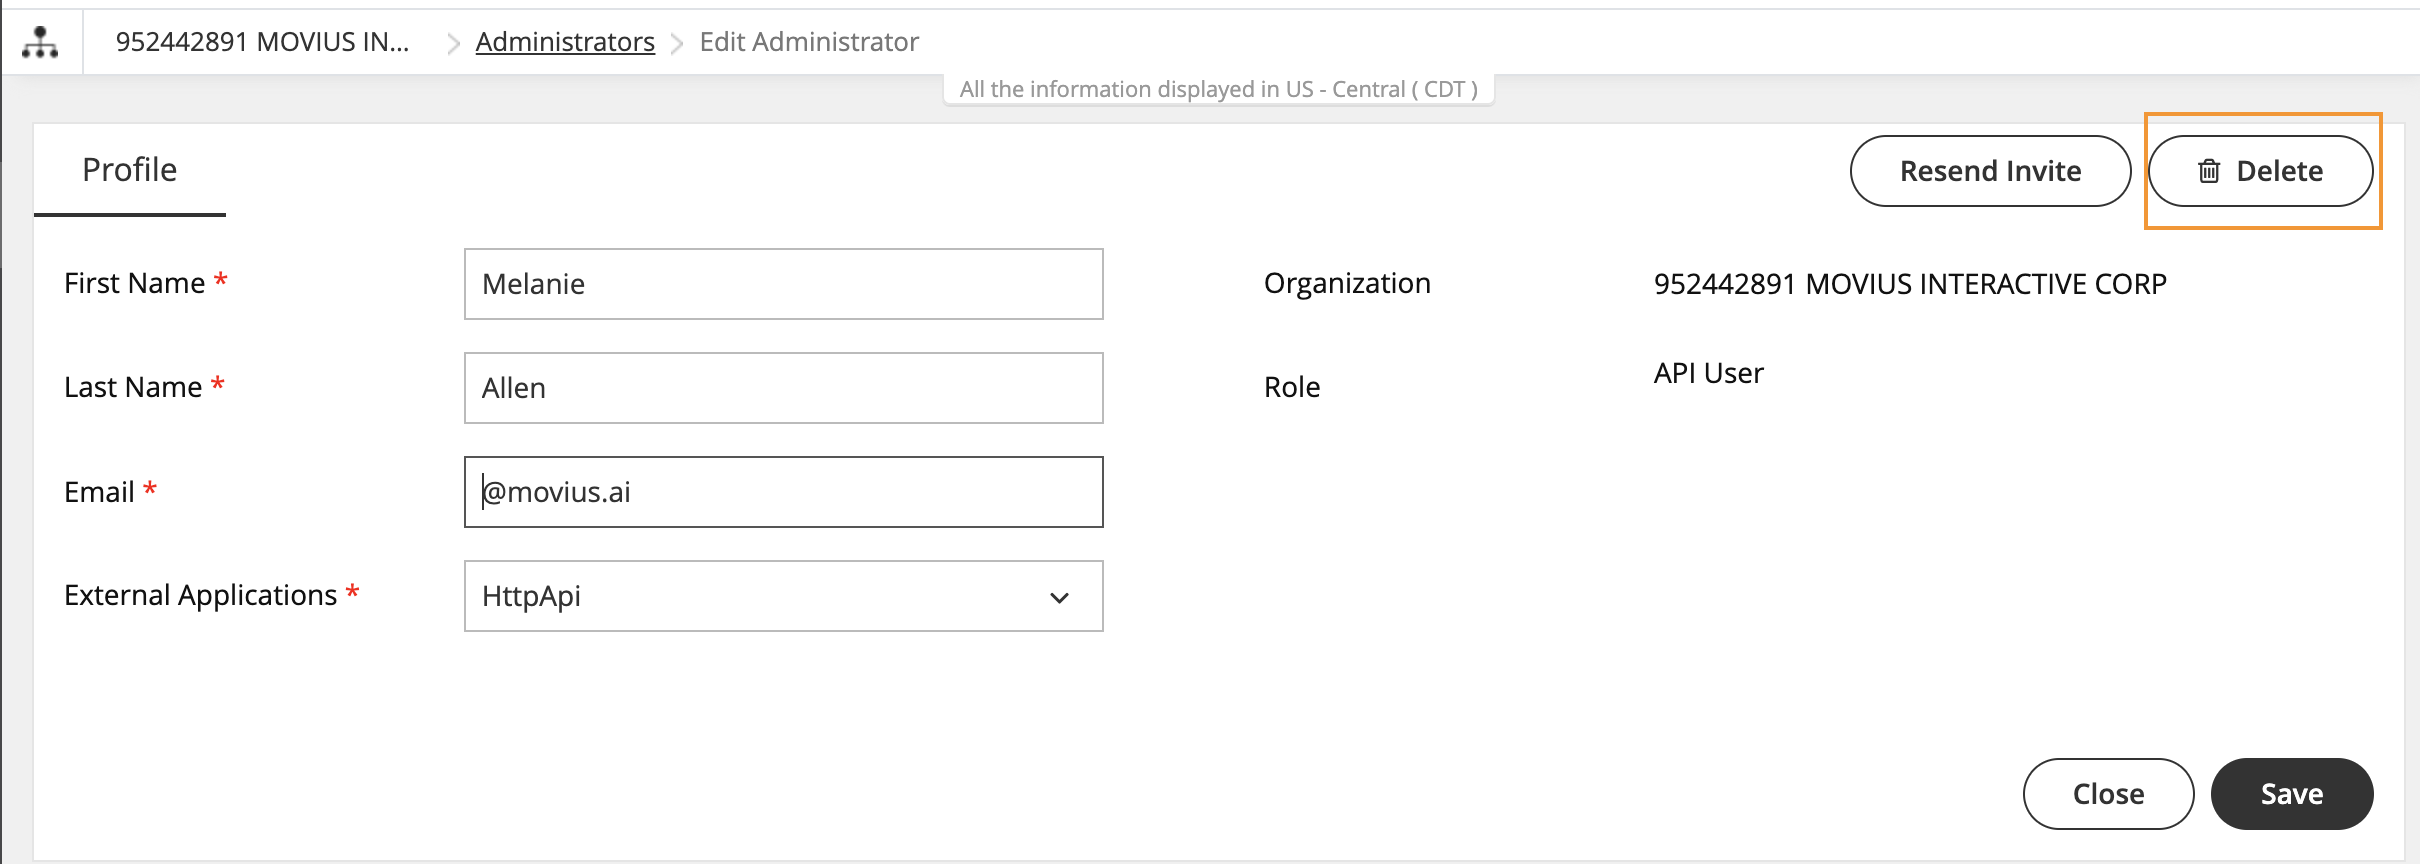
- Select Yes from the Confirm prompt. Heed the warning: if you delete your only API User for an external application (such as Salesforce), the integration will stop working after the deletion.


If an administrator loses their invitation to the Management Portal, you can resend the invitation.
Overview
Invitations to administrators contain the information they need to activate their account into the Management Portal for the first time.
Before You Start
- An admin must have "Administrators" Privilege in their Role in the organization to do these instructions. See What Admin Privileges are in Management Portal?.
How to resend invite to one or more administrators
- Go to Administrators.
- If desired, narrow your search by name or email using the search bar.
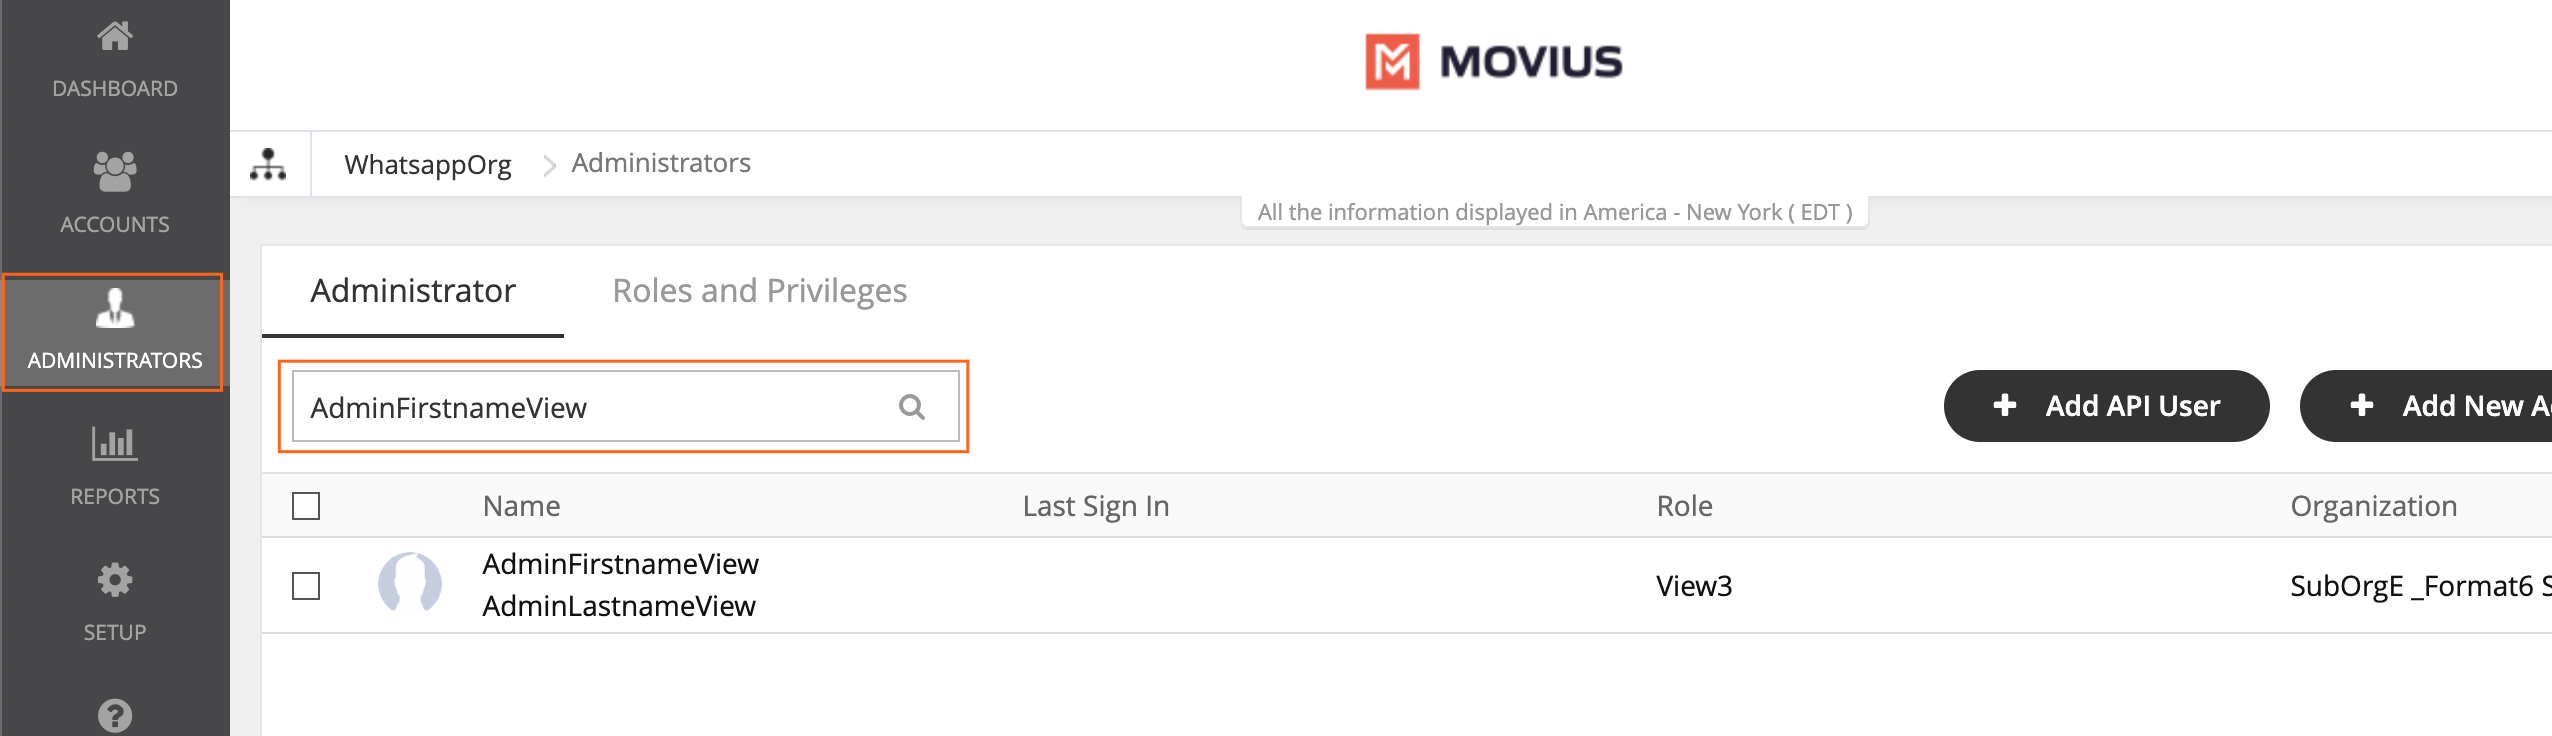
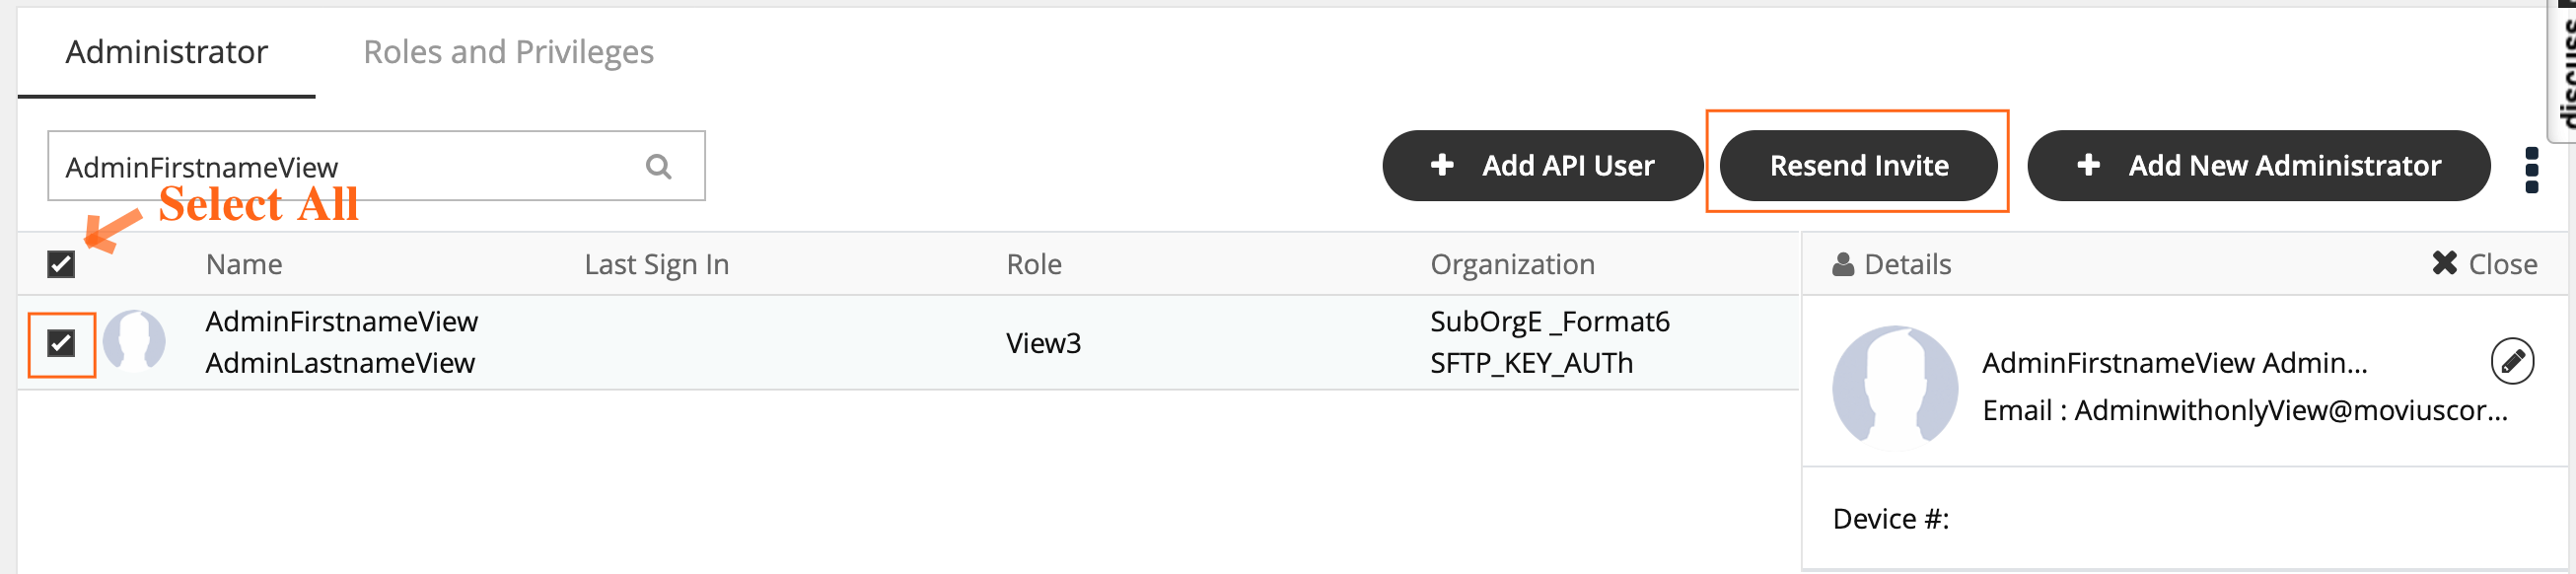
- Select the checkbox for the administrators you want to re-invite.
- To select all administrators, use the checkbox in the header row.
- To select all administrators, use the checkbox in the header row.
- Click Re-invite.


After re-inviting administrators, a download link with successful invitation message will appear. Click on the Download invitation status link to view the invitation status.
Read on to learn how to delete or suspend admin accounts.
Overview
Admin accounts provide access to the Management Portal. API admin accounts connect the Management Portal to outside software. You can delete or suspend admin accounts when necessary. This will remove or suspend the ability of the account to access the Management Portal.
Before you Start
- An admin must have "Administrators" Privilege in their Role in the organization to do these instructions. See What Admin Privileges are in Management Portal?.
- Be very careful before deleting API admins. Deleting them will cause the connector to break.
Delete an admin
- Go to the organization where you want to perform the action.
- Click Administrators from the main menu.
- Select the checkmark for the Admin you want to delete.
- Click the edit pencil.
- Click the Delete button and confirm.
Suspend an admin
- Go to the organization where you want to perform the action.
- Click Administrators from the main menu.
- Select the checkmark for the Admin you want to suspend.
- Click the edit pencil.
- Select the checkmark for either Login suspended or Account suspended.
You can set up alerts that automatically send emails to designated recipients when an event occurs, such as account deletion.
Overview
Setting up alerts helps your organization keep informed about events important to them. You can send the alerts to the organization's administrator as well as other parties by adding their email addresses. You can manage alerts under Administration in the Setup tab.
Before you start
Admins must have Setup privileges in the organization to manage alerts.
Turn alerts on or off
The Manage Alerts tool is in the Setup menu.
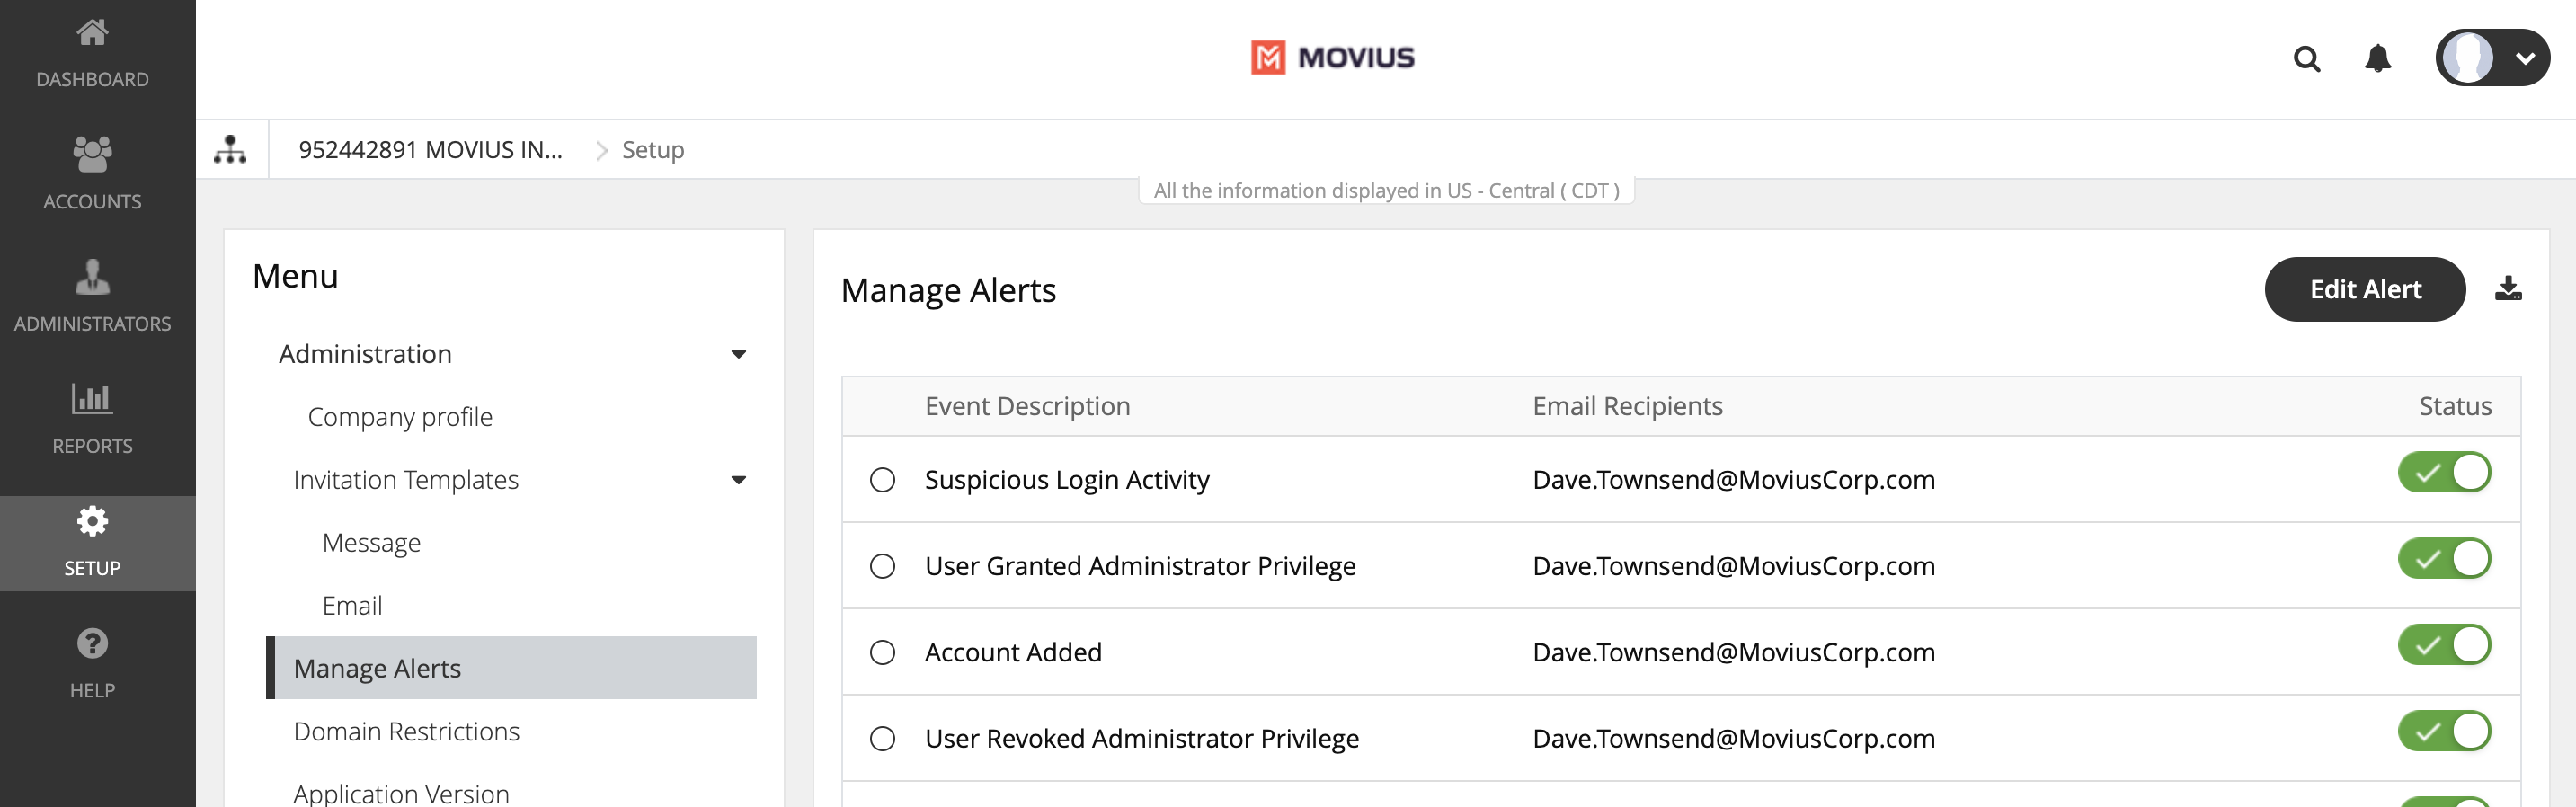
- Go to the organization where you want to perform the action.
- Go to Setup > Manage Alerts.
- Click on the toggles to turn an alert on or off.
- Green checkmark means email recipients will be notified when the event happens.
- Grey toggle means email recipients won't be notified when the event happens
Add recipients to an alert
- Click on the radio button to select an Event, then click Edit Alert.
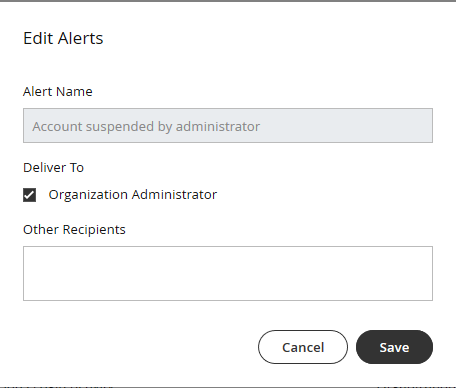
- Add email addresses in the Other Recipients field, then click Save.

What alerts are available?
Alert Name | Description |
Account Moved | An administrator can select an organization administrator or a recipient to receive this alert when an account is moved to or from the organization. |
Threshold exceeded for invitations | An administrator can select all administrators or other recipients to receive this alert when the count of numbers needed for pending invitations exceeds the count of available numbers. |
User granted administrator privilege | An administrator can select all administrators or other recipients to receive this alert when administration rights are granted to a user. |
Suspended Account made active | An administrator can select all administrators or other recipients to receive this alert when a user account that was previously suspended is reactivated. |
Account added | An administrator can select all administrators or other recipients to receive this alert when a new Movius user account is added in the Portal. |
New administrator added | An administrator can select all administrators or other recipients to receive this alert when a new organization administrator account is added in the Portal. |
Number utilization threshold exceeded | An administrator can select all administrators or other recipients to receive this alert when the percentage of numbers used exceeds the set threshold. |
User revoked administrator privilege | An administrator can select all administrators or other recipients to receive this alert when a user administrator rights are revoked. |
Suspicious login activity | An administrator can select all administrators or other recipients to receive this alert when an unauthorized person is attempting to access a user account. |
Account deleted | An administrator can select all administrators or other recipients to receive this alert when an administrator deletes a MultiLine user account. |
Administrator and MultiLine password changed | An administrator can select all administrators or other recipients to receive this alert when a user password is changed. |
Account suspended by administrator | An administrator can select all administrators or other recipients to receive this alert when a user account is suspended. |
Privacy Settings Opted Out | When a user turns-off or rejects privacy policy, the user account will be suspended. An alert is sent to the defined administrator. |
Privacy Settings Resumed | When a user turns-on or resumes privacy policy, the user account will be resumed. An alert is sent to the defined administrator. |
| Batch Operations Report | An administrator can upload a CSV file of multiple user accounts. An alert is sent to the defined administrator with a summary of the batch operation results. |